
Class Members

Sign Ups for Weekly Check-Ins

Resources
Here are some quick tips to help you choose the best way to enroll and get set up in this course:
The content in 120B and 220B is the same, so the choice usually comes down to whether you're a undergrad or graduate student. The 200 series courses count toward graduate student graduation requirements.
- The course is designed to be a 3-unit course, so most students enroll this way.
- The 2-unit option allows students who have a cap on the number of units to take the class for fewer units by completing the main project work, but skipping many of the practice exercises.
- The 4-unit option is available for students who want to complete a more extensive project (modeling with greater detail at each phase).
- CEE 120A/220A - our introductory Building Information Modeling course is not a prerequisite, but it will be very helpful to have good BIM skills from this course or prior courses/work experiences.
- In CEE 120B/220B, we'll assume that everyone has experience creating basic building models and using modeling tools like Revit. We will do building modeling, but we'll be using many of Revit's advanced modeling, analysis, and coordination tools.
- If your BIM skills are a bit rusty, be sure to use the first two weeks of this class (which focus more on analysis and conceptual design) to build up your basic modeling skills. You can view all the workflows and demo videos from CEE 120A/220A here:
- Please use these videos as a helpful resource to practice and build up your modeling skills.
The software that we'll be using in CEE 120B/220B has been installed on most of the computers in Y2E2 184, so you'll be able to work in that cluster when it is available. We highly recommend also installing the software on your own computer, so you'll be able to work at all times -- even when the cluster is unavailable.
Welcome to this quarter's Advanced Building Modeling Workshop! Here are a few pointers as we get ready to start the new quarter...
All Class Materials Are Available Online
This quarter, we’ll be offering this class in an online format that will enable you to work through the class modules at your own pace at the times that are most convenient for your busy schedules! So, there’s no regularly scheduled class time or meeting room -- it’s all available online through Canvas.
Preparing for Our Weekly Sessions
You won’t be alone on this journey -- we will be meeting as a group in-person or online for weekly module kickoff sessions. And you'll be meeting one-on-one with the teaching team each week to review your progress and get tips about how to proceed with your project.
Don't worry If you’re not available to join in live for a module kickoff session -- all of these sessions will be recorded and available to view at your convenience through Canvas.
Getting Ready for Our First Session -- Things to Do Over the Next Day or Two
Here are some things to get started with now, prior to our course kickoff session:
1. Please take a few moments to introduce yourself, so we get a better sense of who's in our class community:
2. If you don't yet have an Autodesk ID with educational access, please sign up for an Autodesk ID using these instructions:

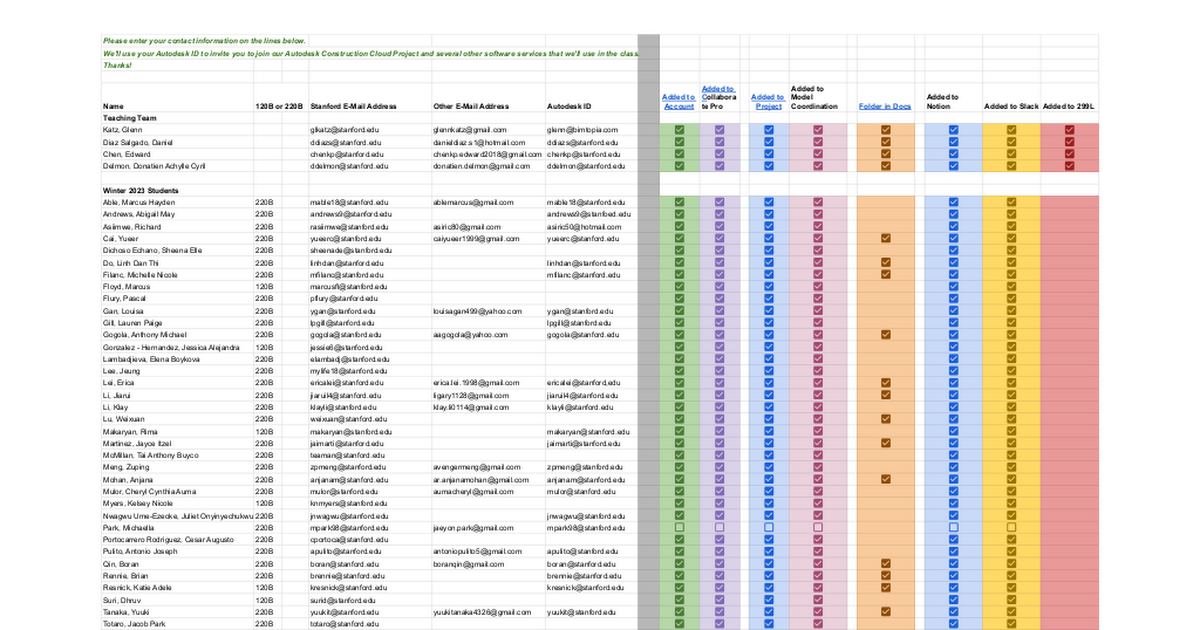
3. Please share (or update) your contact info, so we can set you up in the online systems that we'll be using to collaborate and share our work:
4. Install Revit 2024 on Your Computer
Another important step to get up and running in CEE 120B/220B is to install the software that we'll be using on your computer. You won't need this for the first Kickoff session, but you will need to have the software installed to complete the practice exercises in Module 2 (due next week). If you've already installed Revit 2024 for CEE 120A/220A, you're all set! If not, please follow the instructions in:
Looking forward to meeting with you and getting started on this exciting new journey!
Office Hours will primarily be held in the green atrium in y2e2 Room 264. Also, the office hour times will also be summarized here below.
Monday:
Adeline (10:00am - 1pm)
Daniel (3:30pm - 4:30pm)
Tuesday:
Linh Dan (9:00am - 11:00am)
Tai (1:30pm - 3:00pm)
Daniel (3:00pm - 4:30pm)
Wednesday:
Carrie (12:00pm - 2:00pm)
Linh Dan (7:00pm - 9:00pm)
Thursday:
Tai (1:30pm - 3:00pm)
Daniel (3:00pm - 4:30pm)
Friday:
Carrie (8:00am - 9:00am)
Linh Dan (11:00am - 1:00pm)


- Winter 2024 - CEE 120B/220B
- Autodesk US Content Library
- Shared Content Libraries
Choose one:


🏗️ Understanding Level of Detail (LOD) in Revit and its Relevance to Our Class 🏗️
As we continue to delve into the world of Building Information Modeling (BIM), it's essential to grasp the concept of Level of Detail (LOD). LOD is a crucial aspect in the construction industry, and it's especially relevant to our class. Let's explore the different LOD levels and clarify where our focus lies. A good graphic is included in the above slides that accompany the text below.
🔍 LOD 100 - Conceptual Design 📐
At LOD 100, you're at the most basic level of detail. This is where your designs are conceptual and focus on overall shapes, sizes, and relationships. Think of it as your 'big picture' stage. You're creating representations that provide a clear sense of the project's form and function, without diving into intricate specifics. For our class, this is the starting point where you brainstorm ideas and establish a project's foundational concept.
🏗️ LOD 200 - Basic Modeling 🏗️
As you progress to LOD 200, you begin to add more detail. This level involves creating basic, generic representations of building components. You might start to incorporate simple placeholders for windows, doors, walls, and other essential elements. This is where you refine your initial concepts into a more structured framework. Our class primarily operates within LOD 100 and 200, emphasizing the conceptual and basic modeling aspects of BIM.
🏢 LOD 300 - Detailed Design - Specific Assemblies 🏢
LOD 300 is where things get more detailed. At this stage, you'll be modeling specific products and systems, such as manufacturer-specific doors, windows, or structural components. This level requires a deeper understanding of the project's specifications and an increased level of precision. While LOD 300 is crucial in construction projects, it's not the primary focus of our class.
🏭 LOD 400 - Detailed Assemblies - Fabrication & Assembly 🏭
Finally, LOD 400 is all about fabrication and assembly. This level is highly detailed and typically utilized by manufacturers and contractors. At LOD 400, you're dealing with the nitty-gritty aspects of construction, such as precise measurements, connections, and manufacturing details. This level is well beyond the scope of our class, which primarily centers around LOD 100 and 200.
So, as you progress in this class, remember that this class primarily lies within the realms of LOD 100 and 200 (and a bit of 300 if you were to use specific manufacturer’s BIM objects), the conceptual and basic modeling aspects of BIM. These levels are where you'll establish your project's fundamental ideas and start to bring them to life without overwhelming yourself with unnecessary detail/work. As always, as you are doing assignments, please reach out with any questions or clarifications on how much detail to put.
Design Journals
Module Assignments
✅ Completed
DUE FRI JAN 12 (for all)
DUE TUE JAN 16 (for all)
DUE FRI JAN 19 (for all)

DUE MON JAN 22 (only for 3 or 4 units)
DUE THU JAN 25 (for all)
DUE MON JAN 29 (only for 3 or 4 units)


DUE TUE FEB 6 (only for 3 or 4 units)
DUE THU FEB 8 (for all)
- Report on how proposed schematic design meets goals
DUE TUE FEB 13 (only for 3 or 4 units)
DUE THU FEB 15 (for all)
DUE WED FEB 21 (only for 3 or 4 units)
DUE SUN FEB 25 (for all)

DUE WED FEB 28 (only for 3 or 4 units)
DUE SUN MAR 3 (for all)
👀 Current / Upcoming Week
POSTERS DUE TUES MAR 12
POSTER SESSION ON THU MAR 14 AT 6-8 PM
Posters to Review Online (if cannot attend in person):

FINAL DESIGN JOURNAL POSTING DUE FRI MAR 15


